
Scuffs, scratches and gouges are different
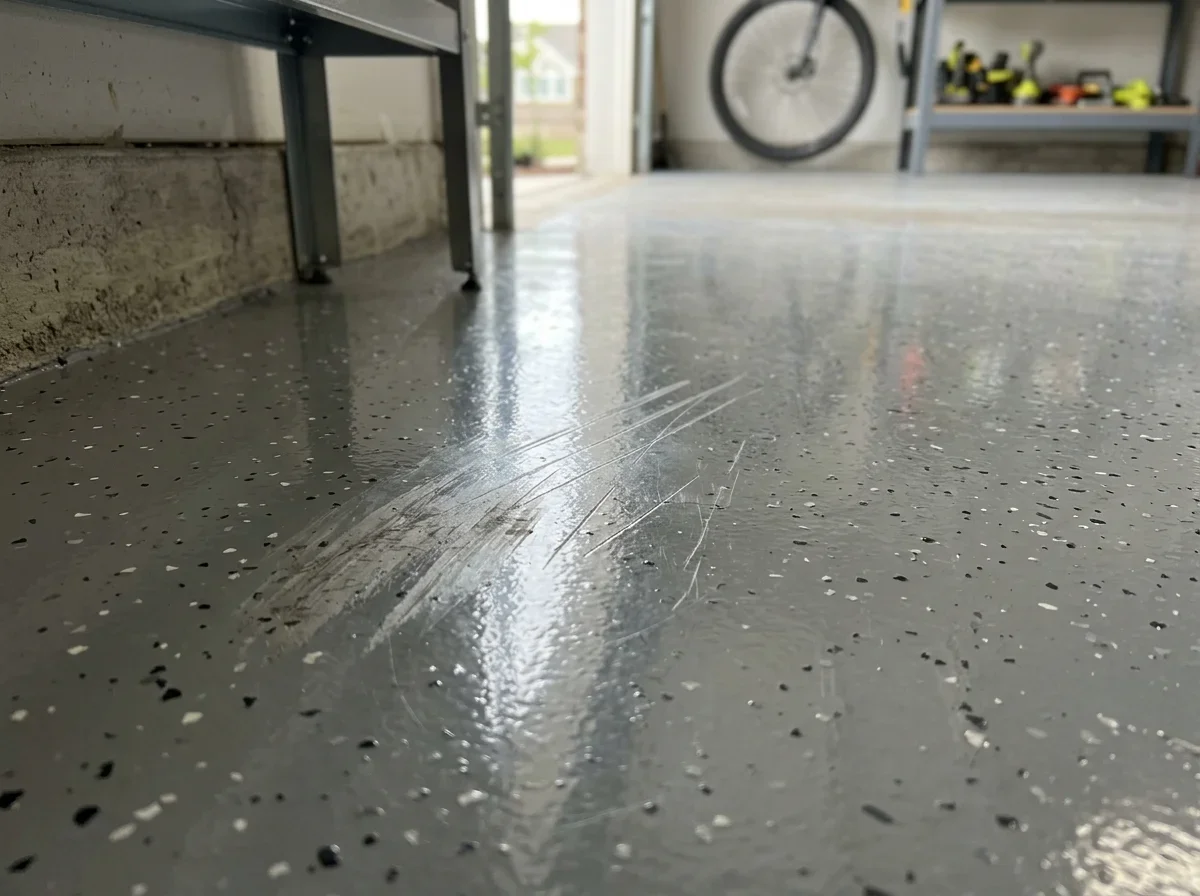
Yes, many epoxy floor scratches can be repaired. How you repair them depends on depth, so start by figuring out which kind of mark you have.
Clean the area first with a mild, non-abrasive cleaner and let it dry. Then run a fingernail across the mark.
| Damage | How it looks | Fingernail test | Repair path |
|---|---|---|---|
| Scuff | Dull streak, black or gray transfer mark | Doesn't catch | Clean, then gentle polish |
| Scratch | Visible line, color underneath unchanged | Catches slightly | Abrade and recoat the topcoat |
| Gouge | Different color or bare concrete showing | Catches hard, feels like a dent | Remove loose material, fill, recoat |
Rubber, aluminum and other metals often rub off on a glossy floor and look exactly like scratches. A degreaser and a non-abrasive pad may be all you need.
What scratches a garage floor
Dragging is the classic culprit. Toolboxes, shelves, engine stands and rolling chests concentrate their weight on small contact points, and hard-wheel casters and jack stand feet do the same.
Grit makes it worse. A coating can be hard and still scratch when sand is trapped between it and a heavy object, because the grit does the cutting.
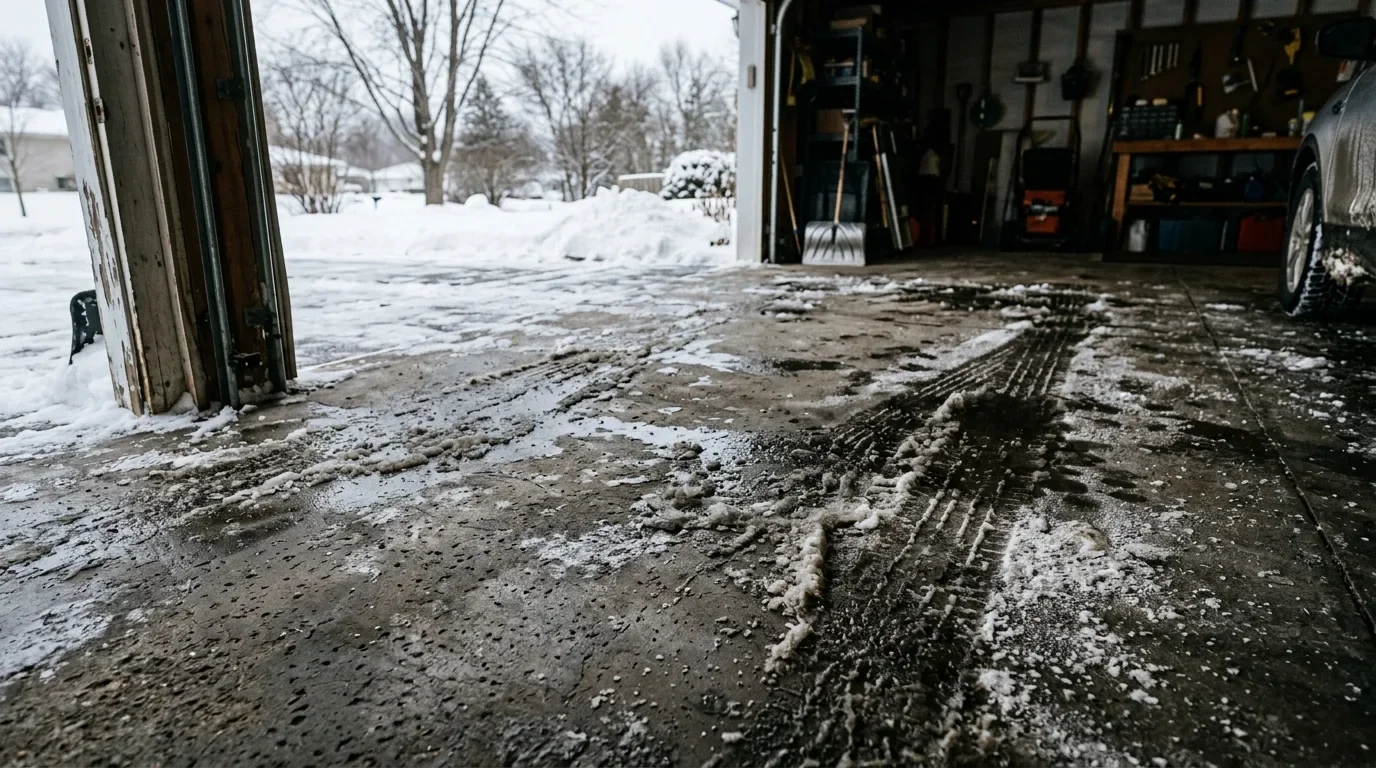
Winter adds to this in Wisconsin. Tires and wheel wells carry sand and road salt into the garage, and meltwater dries into a gritty residue that works like sandpaper underfoot.
The softer layer is often what you see
Many systems are an epoxy base coat, optional decorative flakes, and a clear topcoat. The wear you notice is frequently in that clear topcoat, not the colored epoxy underneath.
How the parts connect
A typical epoxy floor system
Clear topcoat
Where most wear shows
Decorative flakes
Optional
Epoxy base coat
Concrete slab
Scratch and abrasion resistance are also product-specific. Manufacturers such as 3M publish test results for individual coatings, which shows that these are not universal traits of every epoxy floor.[4]
Light repair and touch-up
For scuffs, try cleaning first, then gentle polishing. Don't sand until you've confirmed the mark is a true scratch.
For a shallow scratch, the approach in coating-maker guidance is to clean the area, apply a small amount of matching product for minor damage, sand to a feather edge, clean thoroughly, and recoat.[1] The key word is matching.
"Same color" isn't enough, because chemistry and sheen also have to be compatible with what's already on the floor.
A basic sequence for a small repair:
- Clean and degrease the area, removing oil, tire residue and salt.
- Abrade beyond the damaged spot and feather the edges.
- Remove all dust and let the surface dry.
- Apply a compatible clear repair product or topcoat in thin coats.
- Keep traffic off until the manufacturer's cure time has passed.
The color-match caveat
Be realistic about the result. A small repair on a seamless glossy floor rarely vanishes.
Cured material and fresh material seldom match perfectly, and an aged or yellowed finish makes the gap more obvious. If the floor is yellowing, see yellowing epoxy garage floors before you plan a patch.
Check the data sheet for the minimum application and cure conditions before you start repair work in a chilly garage.
Pro tip
Save the product name, color and application date of your floor coating so any future touch-up uses a compatible, matching product.
When a topcoat recoat is the answer
If the scratch goes through the topcoat, or you have several marks spread around, a full-surface recoat usually blends better than a collection of spot repairs.
Deep gouges need extra steps. Remove loose coating, clean and dry the area, fill the defect with a compatible epoxy repair compound, level it, then recoat.[1]
How it works
How a gouge repair goes
Step 1: Remove loose coating
Step 2: Clean and dry the area
Step 3: Fill with compatible repair compound
Step 4: Level the fill
Step 5: Recoat
Timing is the other piece. One manufacturer's data sheet lists a recoat window of roughly 12 to 16 hours at 75°F. Past that window, the cured surface should be mechanically abraded and cleaned before recoating.[2]
Never coat over oil, salt or embedded grit, since contamination is a common cause of failure. If a recoat fails, you may be looking at peeling epoxy instead.
A recoat means emptying the garage and waiting through another cure period. For budgeting, see the epoxy garage floor cost guide, and get quotes in writing.
Topcoat choices and wear resistance
The clear topcoat does most of the daily fighting. Epoxy builds a strong, thick base, but it's generally not the layer specified for the best scratch and UV performance.
Polyurethane and polyaspartic coatings are commonly used as topcoats for that reason.
| Topcoat | General character |
|---|---|
| Epoxy clear | Strong build, less often chosen for UV and scratch performance |
| Polyurethane | Commonly specified for added wear and UV resistance |
| Polyaspartic | Commonly specified for wear and UV resistance, with its own application requirements |
Hardness figures and abrasion ratings belong to specific products. Ask for the technical data sheet for whatever is on your floor.[5]
Maximum abrasion and chemical resistance arrive at full cure, and cool temperatures and high humidity stretch that timeline.[3]
One data sheet puts full cure at about 3 to 5 days under its stated conditions,[3] and another at about 5 to 7 days depending on temperature.[2]
Flake systems also hide small marks better than solid colors, while high gloss makes every scuff easier to spot. If you're choosing a system, the best epoxy for garage floors guide covers the options, and garage floor epoxy installers can explain what's in their system.
Habits that protect the finish
Most damage comes from a handful of load points: jack stands, hard casters, dragged shelves, kickstands and trailer tongue jacks. Prevent it with simple habits:
- Put plywood or thick rubber pads under jack stands and engine stands.
- Lift heavy items instead of dragging them, or use furniture sliders.
- Choose non-marking rubber wheels for carts and tool chests.
- Keep vehicles and heavy equipment off the floor until it has fully cured.
In winter, sweep or vacuum loose sand often, and squeegee meltwater before it dries into a salty film. Mop with a manufacturer-approved cleaner and avoid harsh chemicals.
Finally, save leftover coating and write down product names, colors, batch information and the application date. That makes future touch-ups far more likely to match.
When to call a pro
Bring in a professional if you see large gouges, delamination, peeling at the edge of a scratch, moisture problems, or widespread dullness.
Checklist
Signs it's time to call a pro
0 of 5 ticked
Tick them off as you go. Nothing is saved or sent.
FAQ
Can you get scratches out of epoxy?
Often, yes. Scuffs and transfer marks may clean or polish out. Scratches through the topcoat need abrading and a compatible recoat, and gouges need filling first.
How do you touch up an epoxy garage floor?
Clean the area, abrade it, feather the edges, and apply compatible product in thin coats.[1] Expect some visible difference in sheen or color.
How do you repair a chipped epoxy garage floor?
Remove loose coating, clean and dry the chip, fill it with a compatible repair compound, level it, then recoat.[1]
What is the life expectancy of an epoxy floor?
It depends on surface preparation, product selection, film thickness, cure time and topcoat, along with how the floor is used and cleaned. Ask your installer for the written warranty terms and the product data sheet.
Use our free tools to estimate costs and check if your floor is ready for a coating.
Frequently Asked Questions
- TK Products. "TECHNICAL BULLETIN EPOXY AND POLYASPARTIC REPAIR." https://tkproducts.com/literature/bulletin/EpoxyPolyaspartic_Repair_Bulletin.pdf. Accessed October 17, 2026.
- Epoxy.com. "Product #1 Hi-Build Epoxy Coating Technical Data Sheet." https://www.epoxy.com/1.aspx. Accessed October 17, 2026.
- Benjamin Moore. "Fast-Dry Polyamide Epoxy V410 Technical Data Sheet." https://media.benjaminmoore.com/WebServices/prod/assets/stage/datasheets/TDS_V410/20180803%20Corotech%20V410_TDS_EN_OKF.pdf. Accessed October 17, 2026.
- 3M. "3M Scotchkote Epoxy Coating 175SR Application Guide." https://multimedia.3m.com/mws/media/708232O/3m-tm-scotchkote-epoxy-coating-175sr-ds-app-guide.pdf. Accessed October 17, 2026.
- Axalta. "Alesta Epoxy Powders Technical Summary." https://www.axalta.com/content/dam/NA/HQ/Powder%20Coatings/Documents/Marketing/EPOXY%20TECHNICAL%20SUMMARY.pdf. Accessed October 17, 2026.