
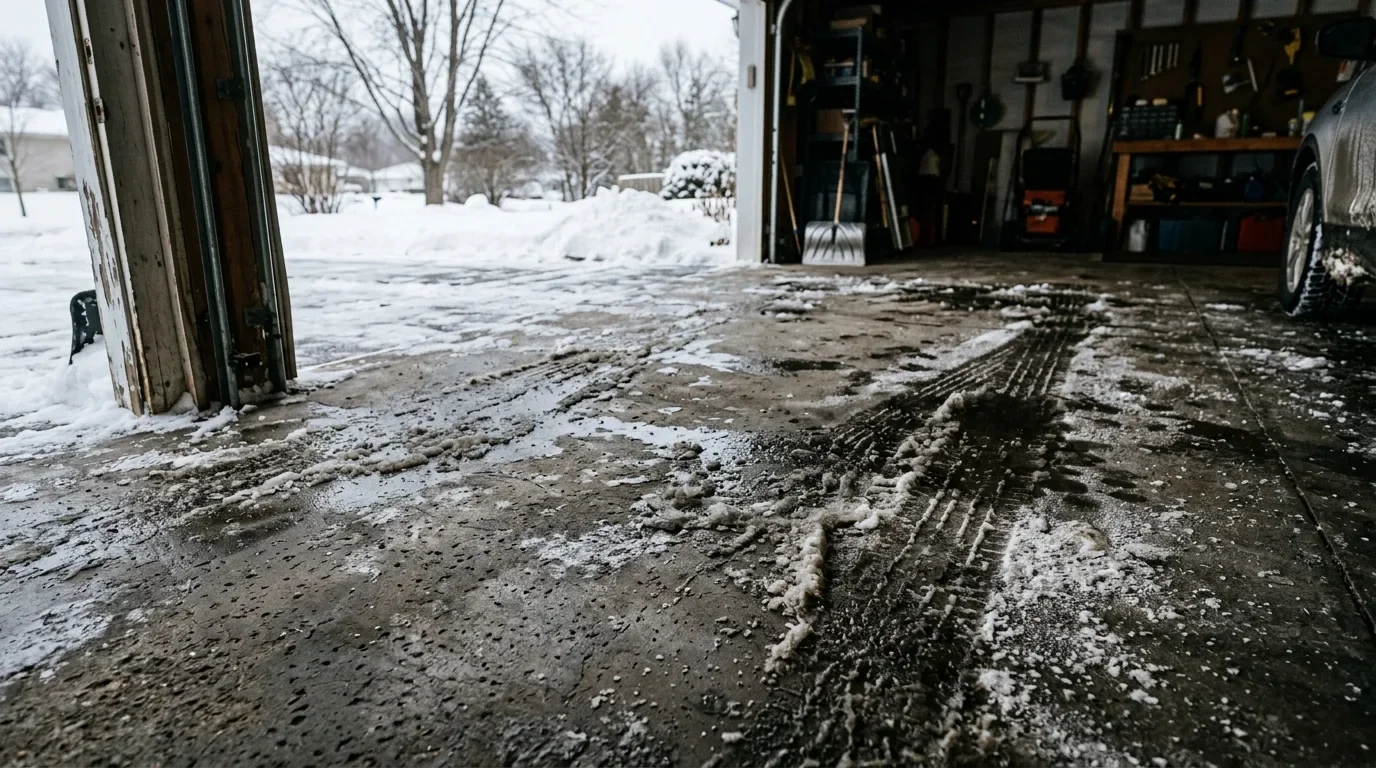
Where the peeling starts tells you the cause
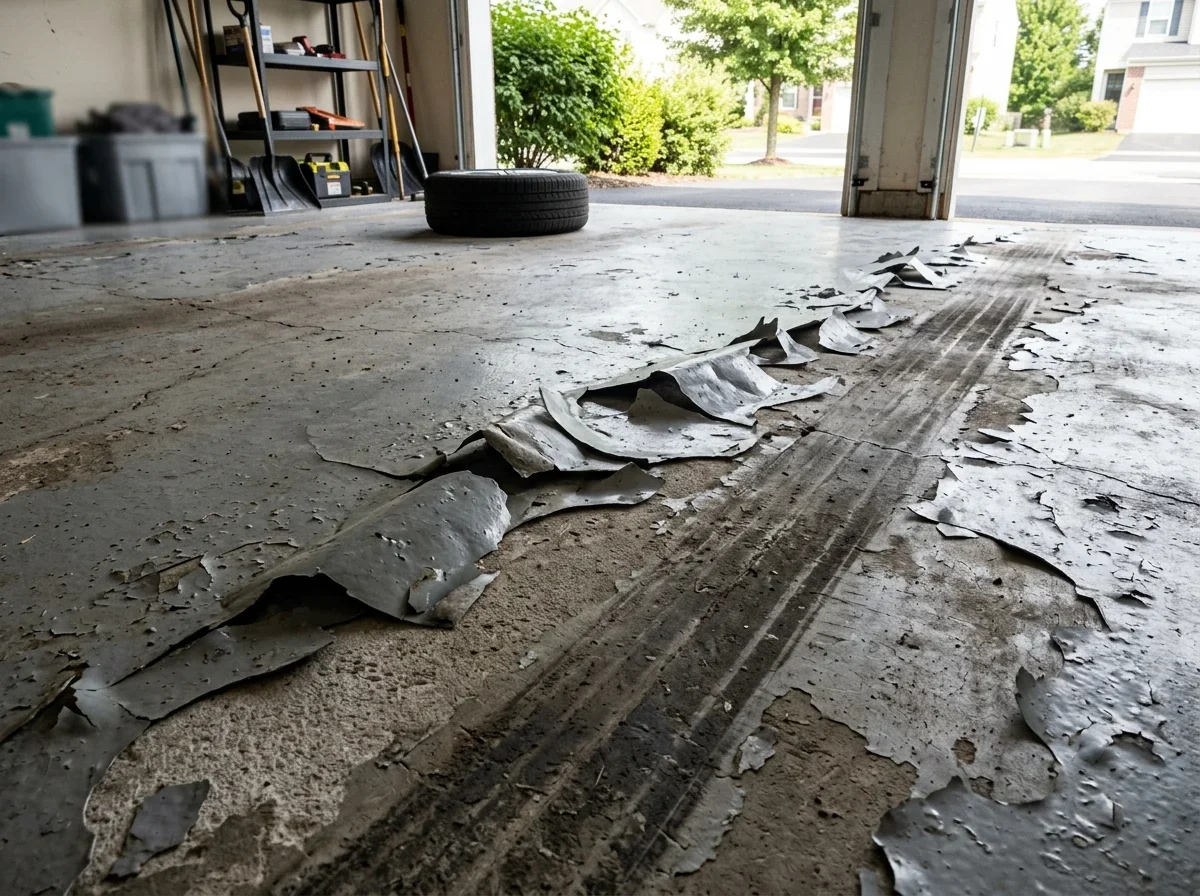
Epoxy peeling is almost always a bond failure. The film lets go of the concrete because of preparation, moisture, or stress from tires, and the location of the failure points to which one. Use this table as a first sort.
| Where it peels | Likely cause | How to confirm | Repair or recoat |
|---|---|---|---|
| Tire tracks | Hot-tire pickup, weak bond, thin coat, or a topcoat not suited to tires | Peeling follows the exact wheel path, especially where tires turn | Recoat if the bond is weak; patching alone usually fails |
| Door threshold edge | Meltwater and salt pooling, moisture entering at the slab edge, unsealed edge | Salt stains or white residue along the edge; lifting recurs each winter | Recoat after fixing the water source |
| Large sheets | Failed bond from no mechanical profile, or moisture from below | Sheet lifts cleanly with bare, smooth slab underneath | Strip and recoat |
| Random patches | Oil or contamination spots, localized moisture vapor, uneven mixing | Patches sit over old stains, low spots, or repairs | Spot repair only if the cause is isolated and gone |
| Flake areas | Topcoat worn through, exposing the flakes | Flakes loosen while the base coat stays bonded | Recoat the topcoat, often without full removal |
The age of the floor is a second clue. Peeling within weeks points to installation or prep failure. Peeling in the first few winters suggests moisture or a coating applied too thin.
Two quick checks you can do at home
Flip a peeled chip over. A clean, shiny underside with no concrete dust means the coating never bonded to the slab, which is a prep problem.
Concrete powder or chunks stuck to the underside mean the slab surface itself failed. That points to weak surface concrete or moisture pressure.
For moisture, tape a small piece of clear plastic to the bare slab and leave it for the time the test method calls for. Condensation or darkening under the plastic means moisture is moving through the concrete. It's a screen, not a measurement.
Poor surface preparation is the most common culprit
Coatings need clean, sound concrete with texture to grip. Specifications for coated concrete call for removing existing coatings, curing compounds, and contaminants, leaving a lightly etched, uniformly textured surface.[1] Surfaces must also be free of oil, grease, dirt, and loose or flaking material so the film can bond continuously.[3]
Proper preparation covers more than a wash. It includes inspecting the slab, removing weak concrete, decontaminating, creating a surface profile, and repairing irregularities.[2] The profile can come from acid etching, grinding, or light shotblasting.[2]
How it works
Steps in proper slab preparation
Step 1: Inspect the slab
Step 2: Remove weak concrete
Step 3: Decontaminate
Step 4: Create a surface profile
Acid etching, grinding, or light shotblasting
Step 5: Repair irregularities
A coating laid over dust, oil, or an unprofiled slab can look fine at first and then lift in large pieces.
Wisconsin slabs add a wrinkle. Winter salt can leave chloride residue in the concrete, and any residue left behind can interfere with adhesion on a recoat. Wash it out and let the slab dry fully before anything goes down.
If you suspect your slab was never properly prepared, floor prep and repair is the step to redo before any new coating.
Moisture coming up through the slab
Epoxy does not tolerate moisture. The substrate must be thoroughly dry and protected from moisture until the epoxy cures, and a clean, dry surface is required for adequate bond.[4] Coatings are meant to go onto a dry surface.[1]
Vapor moving up through a slab can push the film off from below. Calcium-chloride or humidity testing should document slab moisture before coating.[2] Acceptable limits depend on the product, so check the coating maker's technical data sheet.
Damp spots, white mineral residue, or peeling that returns after a repair all suggest an unresolved moisture source. For a closer look at testing, see slab moisture before epoxy. To judge whether your slab is ready for a new coat, try the floor risk assessment.
Hot tires and winter slush load
A car pulling in after a highway drive brings warm tires, and warm tires can soften a coating and tug at a weakly bonded film. Turning the wheels while parking adds twisting stress. A well-bonded, properly chosen system handles this.
A thin or poorly bonded one lifts exactly at the wheel paths. More on that failure is in hot tire pickup on epoxy garage floors.
Winter piles on. In winter, vehicles carry salt-laden slush into Fox Valley garages, and meltwater drips off the undercarriage in the same places every time.
Salt can expose a weak bond, trapped moisture, or poor prep at the same spots each year, and freeze-thaw cycling can make weak spots worse. Sweeping or squeegeeing slush out before it sits helps.
Pro tip
Clear slush and meltwater from the wheel paths and door edge before it sits, since those are the spots where a weak bond fails first.
Spot repair or full recoat
Spot repair only works when the cause is gone. A small, isolated area from a known cause, such as an oil spill or a single impact chip, can be patched. Anything else just moves the edge of the peel outward.
Strip and recoat when:
- Peeling covers more than a few spots
- It follows tire tracks
- It returns at the door edge each winter
- The chip underside shows concrete pulled up
Rolling new epoxy over loose coating is unreliable. Defective coatings that are peeling or flaking must be removed before recoating.[1] For a chipped area, remove everything loose, grind the exposed concrete and surrounding edges until sound, vacuum the dust, degrease, and let the slab dry before patching.
How it works
Patching a chipped area
Step 1: Remove everything loose
Step 2: Grind exposed concrete and edges until sound
Step 3: Vacuum the dust
Step 4: Degrease
Step 5: Let the slab dry before patching
Cost depends on square footage, how much old coating must come off, crack and spall repair, and whether a moisture primer is needed. The epoxy garage floor cost guide explains these drivers.
Choosing a coating that will hold
Acid etching, grinding and light shotblasting are all ways to create a profile, so ask which one your installer used.[2]
Before anyone recoats, a contractor should check:
- Moisture testing, such as calcium chloride or in-situ humidity testing
- The surface profile achieved
- How old coating will be removed
- Whether a moisture-mitigating primer is specified
- Slab and air temperature and dew point on application day, per the data sheet
- Cure time before the first vehicle
- A topcoat suited to hot tires, salt, and wet service
Ask, "How do you prepare the slab?" and "What does the warranty exclude?" Get the answers in writing.
Checklist
Before you hire for a recoat
0 of 6 ticked
Tick them off as you go. Nothing is saved or sent.
For Wisconsin winters, a textured or broadcast finish improves traction, since smooth coatings get slippery when wet. Ask for proof of liability insurance.
For help with product types, see the guide to the best epoxy for garage floors, or review garage floor epoxy installation.
Quick answers
Why is my epoxy garage floor peeling?
It is almost always a bond failure caused by poor preparation, moisture from the slab, or stress from tires.
Can I just patch peeling epoxy?
Only when the cause is isolated and gone, such as an oil spill or a single impact chip. Otherwise the peel keeps spreading.
How can I tell if moisture is the problem?
Tape clear plastic to the bare slab. Condensation or darkening underneath means moisture is moving through the concrete.
Check whether your floor is ready for a coating before you call installers: a free 2-minute assessment.
Frequently Asked Questions
- Texas Department of Transportation. "Item 427 Surface Finishes for Concrete." https://ftp.txdot.gov/pub/txdot-info/cmd/cserve/specs/2024/standard/s427.pdf. Accessed October 17, 2026.
- City of Charlottesville / Sherwin-Williams. "Guideline Instructions for Concrete Surface Preparation." https://charlottesville.gov/DocumentCenter/View/7606/Sherwin-Williams-Guideline-Instructions-for-Concrete-Surface-Preparation-Form-G-1-PDF. Accessed October 17, 2026.
- City of San Marcos. "Protective Coatings Item No. 722S." https://www.sanmarcostx.gov/DocumentCenter/View/2040/722s-Protective-Coatings-PDF. Accessed October 17, 2026.
- California Department of Transportation. "Structure Concrete Repair and ...." https://dot.ca.gov/-/media/dot-media/programs/engineering/documents/structureconstruction/ctm/sc-ctm-chpt6-a11y.pdf. Accessed October 17, 2026.