
Small bubbles versus large blisters
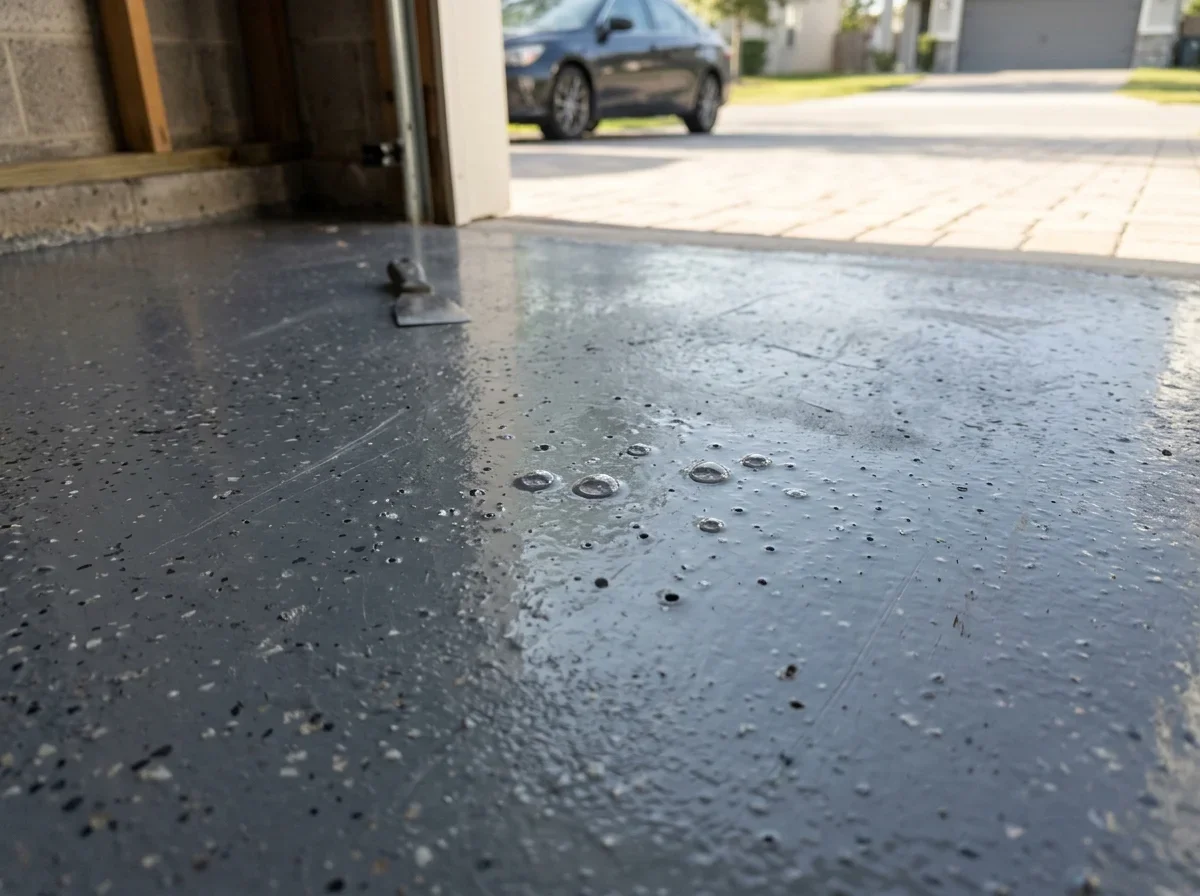
Size, timing, and what's inside the bubble tell you most of what you need to know. Check these before you reach for sandpaper.
| Type | Size and look | When it appears | What's inside | Likely cause | Sand and recoat? |
|---|---|---|---|---|---|
| Pinholes and craters | Tiny, often with a rim | During application or cure | Air | Outgassing from concrete, or cure too fast | Usually, after sealing the voids |
| Small round bubbles | Pea-sized or less | Cure through day one | Air | Outgassing or mixing air | Often, if isolated |
| Foam or clusters | Frothy, uniform | Right after rolling | Air | Aggressive mixing, rolling technique | Usually |
| Large blisters | Raised, hollow, may feel soft | Days to months later | Air or liquid | Moisture vapor, lost adhesion | Not until the cause is found |
A few small bubbles popping the day after install can be normal. Bubbles that keep forming, blisters that feel soft or hollow, or any that weep fluid when pricked are a different story.
Outgassing from porous concrete
Concrete holds air in its pores, and that air moves as conditions change. It shifts in and out of a slab as temperature and barometric pressure change. Air expanding through the pores can form blisters, bubbles, or crater-like defects in a barrier coating.[1]
The coating is simply in the way.
Outgas bubbles form when air pushed up through the concrete gets trapped in resin that is setting.[2] The same mechanism explains pinholing: air escapes the pores and gets stuck in the film.[4]
Timing matters more than most people expect. A rising slab temperature signals a higher outgassing risk, and coating while the slab temperature is falling can reduce the problem.[1] Falling temperatures also help draw resin into the pores.[2]
In practical terms, a coat applied in the afternoon on a warming slab is riskier than one applied in the morning on a cooling slab.
The heated garage trap
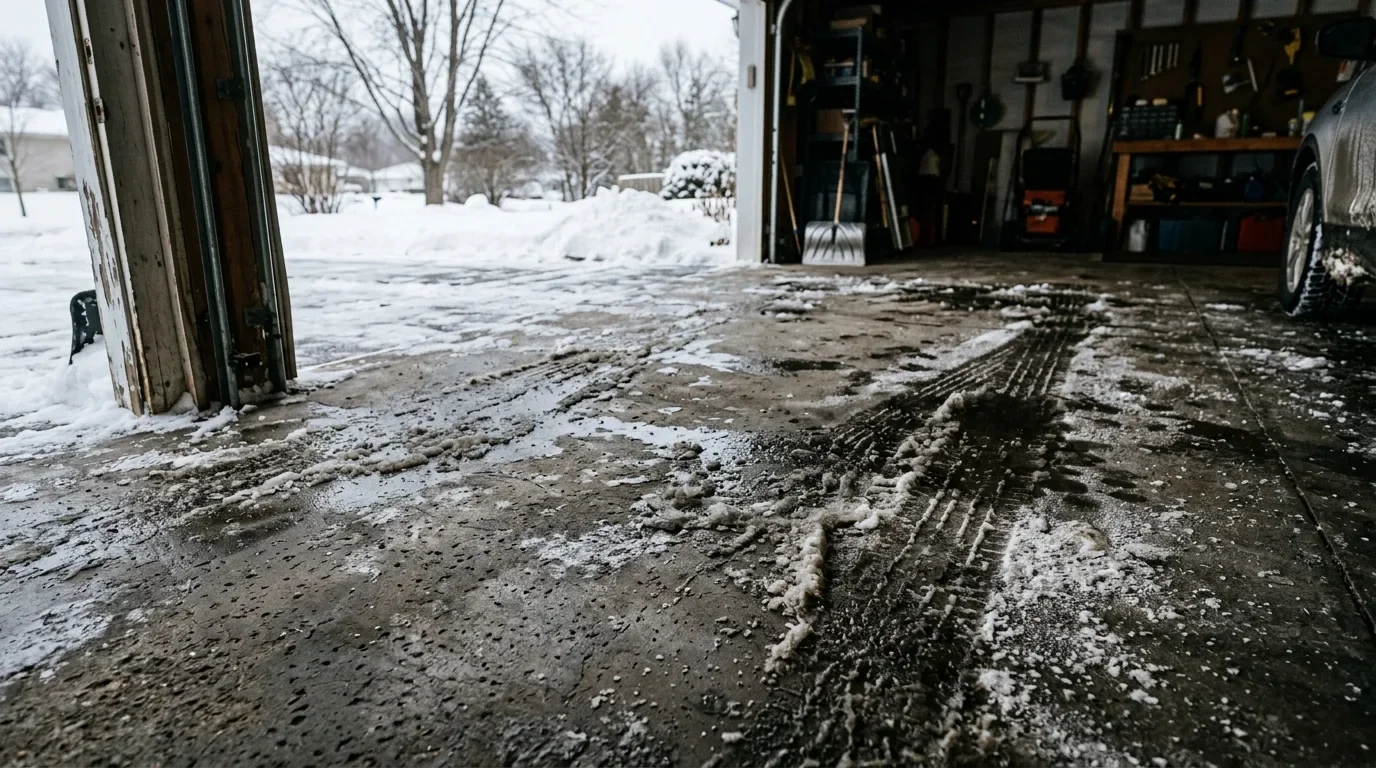
This is where a Wisconsin winter job gets tricky. A garage that sits near outdoor temperature has a slab well below the room air when heaters first run. The slab keeps warming after the air feels comfortable, and that lag is the window in which a fresh coat can outgas.
Sunlight, warming garage air, and cycling heaters can all warm the substrate enough to trigger outgassing during cure.[2] The thermostat reading isn't the slab reading.
Measure the surface itself, and warm the space gradually and early rather than after the coat is down.
Pro tip
The thermostat reads the air, not the slab. Measure the slab surface itself, and start warming the space early so the slab is steady before coating.
Moisture vapor pushing from below
Blisters that grow after the coating has cured usually aren't outgassing. They often point to moisture vapor pressing up from the slab and breaking the bond, and they can enlarge or rupture under vehicle traffic.[3]
The symptoms overlap with outgassing, which is why diagnosis matters. A hollow, raised, or peeling blister with dampness beneath it suggests an adhesion or vapor problem rather than a simple surface bubble.
Sanding and recoating alone may not solve it.
Before you recoat, look at the conditions around the slab. Gutters, grading, and any place water collects beside the foundation can feed recurring blisters.[3] If your garage floor is a basement-style slab with dampness, see basement slab moisture before epoxy for testing and warning signs.
The coating maker's data sheet states the moisture limits for the product, so check it rather than guessing.
Application and temperature mistakes
Some bubbles come from the install, not the slab. Mixing too aggressively whips air into the resin, and rolling technique can leave froth that sets into the film.
Temperature is a three-part problem. Air, slab, and coating temperature each matter separately, and a controlled range on the data sheet applies to all of them, not just the thermostat. Cold epoxy on cold concrete may not release air properly, while a rapidly warming slab can let the top film cure before gases escape.[5]
How the parts connect
The three temperatures to control
Air temperature
Not just the thermostat
Slab temperature
Measure the surface itself
Coating temperature
Within the data sheet range
Airflow can also cause trouble. Open garage doors, strong fans, and dirty equipment can speed curing or drop dust onto a wet coat, creating defects that look like bubbles.[5]
Repairing a bubbled floor
For isolated, well-bonded bubbles, the fix is surface repair. Manufacturers describe the same basic approach: break small bubbles, fill large blisters, sand smooth, and reapply the coating.[5]
- Assess. Press and tap the area. Anything hollow, loose, or wet needs to be removed back to sound material.[3]
- Open and grind. Lightly grind or sand affected areas flat.[4]
- Dry and clean. Let the surface dry thoroughly, then vacuum all dust.[3]
- Fill and seal. Large craters can be filled with 100% solids epoxy before recoating,[3] and an epoxy primer goes on before the base coat.[4]
- Recoat with a compatible product, following the data sheet's recoat window.
Don't simply bury active pinholes under another coat. Open voids can keep releasing air into the next layer.[2]
How it works
How a bubbled floor is repaired
Step 1: Assess
Remove anything hollow, loose, or wet
Step 2: Grind flat
Step 3: Dry and vacuum
Step 4: Fill and prime
100% solids epoxy for large craters
Step 5: Recoat
Within the data sheet window
Cost depends on how much area is affected, so see the epoxy garage floor cost guide for what drives quotes.
A professional should judge widespread blistering. When bubbles cover large areas, repair can become full-floor sanding and recoating, and moisture-driven blisters can come back if the cause is never addressed. Floor prep and repair pros can assess the bond and the slab before anyone mixes new material.
Preventing bubbles on the next coat
Most prevention happens before the coating is opened. Test the slab for moisture first, using the method your coating maker specifies, and let the slab reach a stable temperature.
Use a primer that seals the concrete and its pinholes before the body coat goes on. A floor risk assessment is a useful way to check slab readiness, and the best epoxy for garage floors guide covers product choice. For a cold-season job, see epoxy garage floors in winter.
Schedule application when the slab is steady or cooling, and hold conditions steady through cure. Keep fans off and the door closed.
If you're hiring a garage floor epoxy installer, ask:
- Was a moisture test done before coating, and by what method?
- Was a moisture vapor barrier used, and what is its rated limit?
- What slab and air temperatures were recorded during application and cure?
- What does the warranty say about bubbling and blistering?
Written answers matter, so ask for references and documentation.
Checklist
Questions to ask an installer
0 of 4 ticked
Tick them off as you go. Nothing is saved or sent.
FAQ
Do epoxy bubbles go away?
A few small air bubbles that pop within a day can be normal. Bubbles that keep forming, feel hollow, or leak fluid won't resolve on their own and need diagnosis.
What would cause an epoxy floor to bubble?
The usual causes are air escaping from concrete as it warms, moisture vapor from below, air whipped in during mixing, and cold or fast-changing temperatures during cure.[1][5]
How do you fix bubbles in epoxy flooring?
For isolated bubbles, grind or sand them flat, clean, prime, and recoat.[4] Widespread or moisture-related blistering needs a professional assessment first.
How do you avoid epoxy bubbles?
Seal pinholes with primer, coat while the slab is stable or cooling, check moisture beforehand, and control airflow during cure.
Check whether your floor is ready for a coating before you call installers: a free 2-minute assessment.
Frequently Asked Questions
- Euclid Chemical. "Coating Defects Caused by Concrete Outgassing." https://www.euclidchemical.com/fileshare/Literature/Technical_Bulletins/CP-03-Coating_Defects_Caused_by_Concrete_outgassing.pdf. Accessed October 17, 2026.
- Sherwin-Williams. "Outgassing and Outgas Bubbles." https://industrial.sherwin-williams.com/na/us/en/resin-flooring/contractor-center/technical-articles/minimizing-outgas-bubbles.html. Accessed October 17, 2026.
- Neogard. "Technical Troubleshooting Guide." https://www.buildsite.com/pdf/neogard/Neogard-Technical-Troubleshooting-Guide-2913017.pdf. Accessed October 17, 2026.
- Sika. "Traffic Membrane Troubleshooting Manual." https://usa.sika.com/dms/getdocument.get/870baf7b-b9f8-3190-b6a7-7c9f21bfffbd/trouble%20shooting%20manual.pdf. Accessed October 17, 2026.
- Zeraus Products. "Common Problems and Diagnosis." https://www.zeraus.com/common-problems-and-diagnosis. Accessed October 17, 2026.